Considerations for FDM printing
Designing for any form of manufacture requires a certain amount of knowledge, and designing FDM (Fused Deposition Modelling) 3D printing is no different. The excellent thing amount FDM printing is it's fast and low-cost, so you can test, make mistakes, learn and test some more before getting some outstanding results.
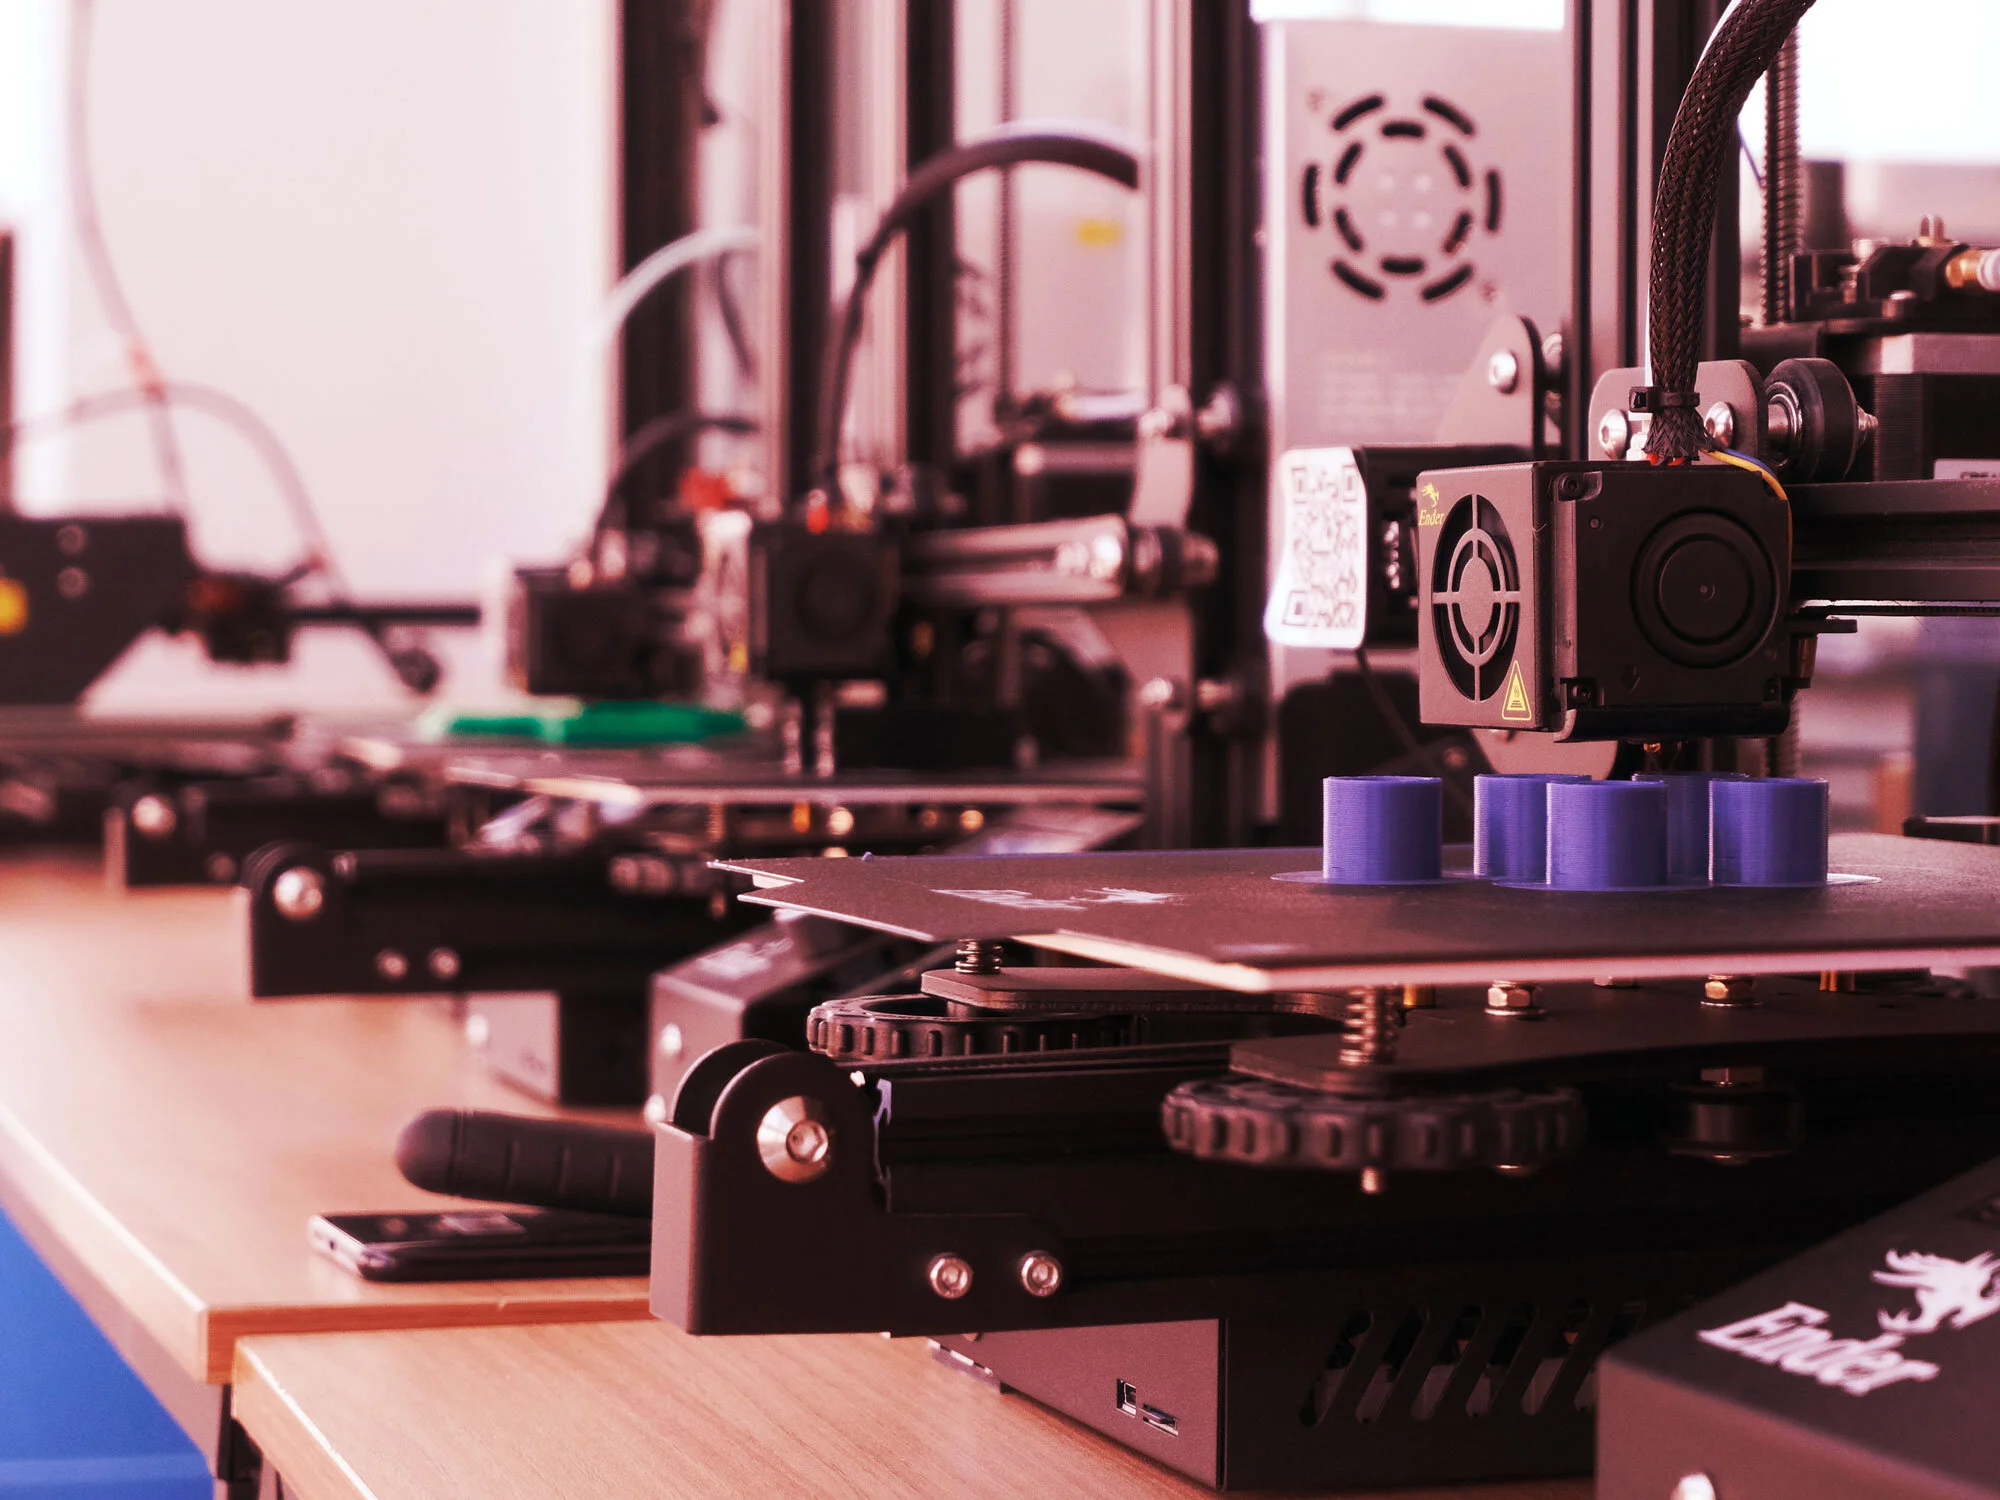
At Laser Scanning, we have a wide variety of 3D printers, including a large number of FDM printers varying in volume size, material and accuracy, so it's safe to say we've got you covered on any of your requirements.
Firstly, what is FDM 3D printing?
FDM 3D Printing is a method of additive manufacturing where an object is created by fusing material layers. The material is typically melted and extruded through a hot end in small layers, slowly building up your 3D object.
Most commonly, you will see thermoplastics being used in FDM printing. However, many exotic materials can be used, such as chocolate, carbon fibre blends, flexible materials and more.
So, how can you design 3D CAD models specifically for FDM printing? This article will highlight some key elements that we recommend you consider when looking at your 3D model.
Orientation
Let's start with something that may have been overlooked during your design phase - print orientation. As you probably gathered, this is how you position and orientate the 3D model on your printer bed for printing. Orientation is a super important aspect that can fundamentally affect nearly all the points we are about to discuss, including the parts surface finish, overall strength and the number of supports required.
Orientation Considerations
We recommend you read the key elements below then consider your parts orientation as this entirely depends on your model's geometry and features.
Bridges
Bridges in 3D printing refer to the extrusion of material between two raised points (think of a bridge). If there is no support material under the bridge, your printer will be required to 'bridge' the gap between these two points with extruded melted material, and this will lead to sagging.
Bridging Considerations
To improve your bridging and reduce shagging material, you should reduce the distance needed to bridge. A 5mm bridge will show little to no shagging. However, we understand that your 3D model may have certain design constraints and editing your design only to have 5mm bridges may not be feasible. If this is the case, you could consider using support material under your bridge. The support material provides a build platform underneath your bridge which can be removed once your print is complete. The downside to support material is it typically leaves damage to the part where it was connected. A final solution could be to divide your 3D model into section and orientate the print, so no bridging is required; this is slightly more complicated and will require some form of assembly port-processing.
Overhangs
An overhang refers to overhanging material - think of a set of inverted steps. The layer above builds outwards and overhangs the layer below. Overhangs are relatively similar to bridges as the issue is caused by a lack of support below the surface, which can cause inadequate layer adhesion, curling or bulging.
Overhang considerations
Any overhangs up to 45 degrees in your design shouldn't produce any issues as there will be enough material below to support the build. However, if the overhang is over 45 degrees, you will need to include support material to provide enough adhesion. Again this support material can be removed once the print is complete, but it will leave marks on your final design. Before you start any print, it is essential to consider the orientation of the part to see if you can reduce overhang angles.
Supports
We have already covered the general reasoning for support in Overhangs & Bridging, but to quickly recap - supports are necessary when your print has overhangs or features suspended in midair. They allow for the successful printing of complex shapes by propping up these otherwise unsupported areas.
Support Considerations
Supports should be classed as a necessary evil. However, when designing your model, be considerate of where you require supports. For example, if an area requires a superior surface finish, i.e. external surface, you will not want to place support here. Additionally, re-orienting a model can help with the amount of support required, but this will depend on other design factors.
Holes
When FDM printing, there will always be a slight variation between your design and the actual diameter and shape of a 3D printed hole. The most important aspect of 3D printing holes is the orientation of the hole.
Vertical Holes Considerations
It is best practice to print holes vertically as these are more predictable in their result. The main issue with vertical holes is they typically print undersized due to the material's compression to the layer below. Let's say you are printing with a 0.4mm nozzle - your slicing software assumes the material you extrude is 0.4mm wide. However, due to the compression, the material is forced out wider (0.5mm), so your hole will be printed 0.2mm smaller. To resolve this, you could either make these slightly larger in your design or for even better accuracy, you could make them smaller and drill them afterwards to your desired diameter.
Horizontal Holes Considerations
Horizontal holes are much more challenging to produce accurately due to they are built during FDM printing. The problem with vertical holes is that multiple layers produce them with varying degrees of overhang. As such, some sections of the curve might not come out perfectly round. To help this, you could use supports in the hole to aid with any bridging. However, as mentioned before, supports will often leave hard-to-remove marks on your prints.
Printing Material
There are hundreds if not thousands of different 3D printer filament choices available these days, ranging in material properties, colours, features (there is even a blend that can conduct electricity) and more.
Printing Material Considerations
As previously mentioned, there are an unbelievable amount of materials available today. To keep this simple, we will just cover the key elements of the three most popular materials PLA, ABS and PETG.
PLA
The properties of PLA make it more suitable for aesthetical applications over strength and durability. Therefore, you should choose PLA for items designed for decorative rather than hard-wearing parts. PLA filaments are also low-cot, accurate and create vivid models, props, pastry moulds, and containers.
ABS
Products made of ABS boast high durability and a capacity to withstand high temperatures. Still, you should be mindful of the ABS's high printing temperature, tendency to warp during cooling and fumes. Be sure to print with a heated bed and a well-ventilated space (or with an enclosure).
PETG
PETG is often considered an excellent middle ground between ABS and PLA, the two most commonly used types of 3D printer filament, as it is more flexible and durable than PLA and easier to print than ABS.
Corners
Because the printing nozzle in FDM is circular, corners and edges will have a radius equal to the size of the nozzle. This means that these features can't be perfectly square.
Corner Considerations
For sharp edges and corners, the first layers of a print are significant. As mentioned in vertical holes considerations, as the nozzle prints each layer, it compresses the print material to improve adhesion. This creates a flare often referred to as 'elephant's foot' for the initial print layer. This flare can impact the ability to assemble parts as it protrudes outwards. To help resolve this 'elephant's foot,' try adding a 45-degree chamfer or radius on any edges touching the build plate.
Overview
If a bridge is larger than 5mm, sagging or marks from support material can occur. Splitting the design or sanding during post-processing can help eliminate this issue.
Supports should be used on overhangs larger than 45 degrees. However, be aware that supports will leave marks and imperfections on your final model.
We recommend always trying to print holes vertically but be aware any hole may not be accurate in diameter, so drilling after printing is recommended.
To reduce 'elephants foot', try adding a 45-degree chamfer or radius.
Choose your material carefully depending on the application of your model.
Splitting a model, re-orientating holes, and specifying build direction are all factors that can lower cost, speed up the printing process, and improve the strength and print quality of a design.